
Finishing a chainsaw carving is an important step in the process that can greatly enhance the final appearance of your work. Here are some general steps to follow when finishing your chainsaw carving:
- Sand your carving: Once you’ve finished carving, use a coarse-grit sandpaper (such as 80-grit) to remove any rough spots, splinters, or chainsaw marks. Then, move to a finer-grit sandpaper (such as 120-grit or higher) to smooth out the surface of the wood.
- Apply a wood conditioner: A wood conditioner helps to prepare the wood for stain or other finishes by sealing the pores of the wood and preventing it from absorbing too much finish. Apply the wood conditioner to your carving using a brush or a rag, and allow it to dry for the recommended time.
- Apply a finish: There are many different types of finishes that can be used to protect and enhance the appearance of your chainsaw carving, including oil, stain, varnish, and wax. Choose a finish that is appropriate for the type of wood you are using and the look you want to achieve. Apply the finish according to the manufacturer’s instructions, using a brush, rag, or spray can.
- Allow the finish to dry: Once you’ve applied the finish, allow it to dry completely before handling or displaying your carving. This may take several hours or even days, depending on the type of finish you used and the temperature and humidity of your work area.
Remember, it’s important to take your time and be patient when finishing your chainsaw carving. Rushing the process or skipping steps can lead to an inferior final product.
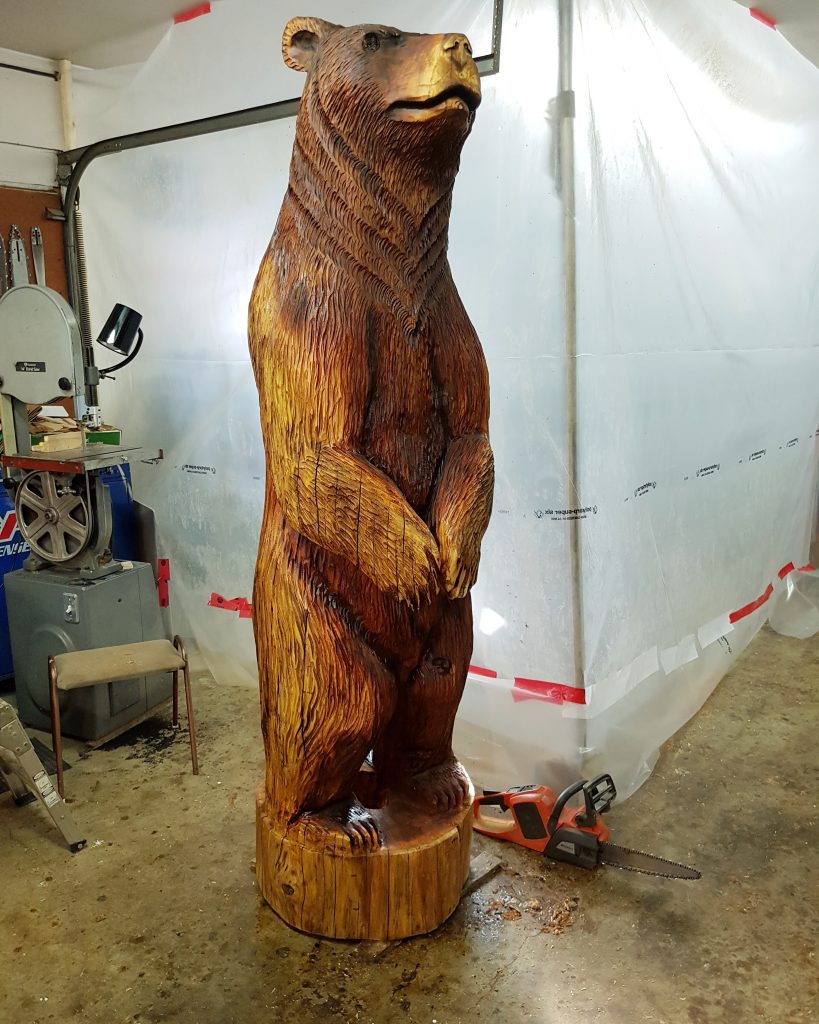
Amazing bear
We thank you for your talented work.
H & G.